Eyedro Installation: Opening the Panel and Installing the Current Sensors
While we always recommend that you hire a licensed electrician to install your Eyedro sensors, many home owners opt to install their Eyedro system themselves. Always shut down the power to your electrical panel first and proceed with utmost caution!
Once the power is shut off at your electrical panel you can remove the cover to expose the circuits. Your Eyedro sensors can be clamped over any individual branch circuits that you would like to monitor, but most homeowners choose to clamp the sensors over the 2 main lines that feed their panel (and usually their entire home).
Once you choose the circuits that you want to monitor you will need to close the sensors. To ensure accurate measurements the sensors must be shut securely. Eyedro current sensors will almost always make an audible clicking sound when you snap them shut. To close the sensor, gently push down and on an angle from the hinge until you hear the click.
Routing the Eyedro Current Sensor Cables Through a Panel Knockout
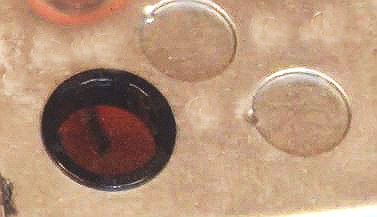
You will want to route the Eyedro sensor cables out through a knockout in your electrical panel. Please install a bushing in the knockout to protect the wires from sharp metal edges:
Electrical Panel Knock-out Bushing
Connect your sensor wires to the sensor ports on your Eyedro.
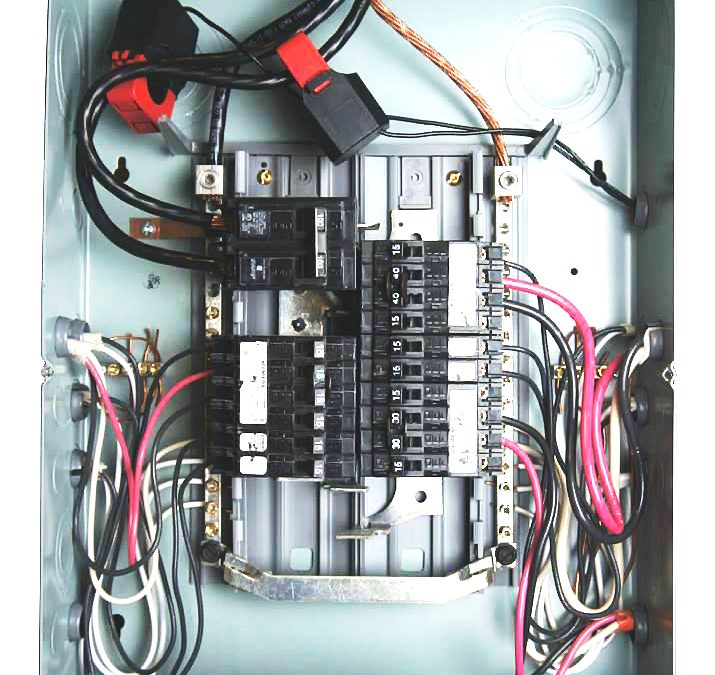
How to install Eyedro sensors is a common question. Installation of the Eyedro electricity monitor is quite simple, and it starts with the sensors. Although we always recommend an electrician install the sensors, it is quite common for a home owner to install their own. The typical residential installation of the sensors inside the electrical panel looks like this:
Electrical Panel with Eyedro Sensors Installed
Take Extreme Caution if you do this sensor installation yourself because the electrical lines will probably be energized and pose a safety risk! If you’re not sure what I mean then please have an electrician install these sensors for you.
Notice how there is a sensor around both of the “hot” lines entering the panel, but not the ground or neutral line. The sensors are not directional, meaning Eyedro can be used to monitor power generation just as easily as power consumption. They’re also hinged to simplify installation.
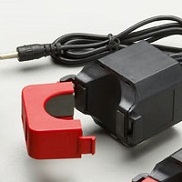
Eyedro Sensor – Shown Open
Also, be sure to confirm the rating on the sensors you’re installing are sufficient for your application. At the time of this writing, Eyedro only sells a 200A sensor (red and black).
Simply clamp the eyedro sensors around the “hot” wires that are to be monitored, and ensure the sensor “snaps” closed. Next step is to route the sensor wires through the side of the electrical panel and out to Eyedro sensor module (black box). Here is a video by Jamie Boyd at Boyd Electrical that should also help.
For additional information regarding installation of the eyedro sensors, please consult the eyedro product manual.