
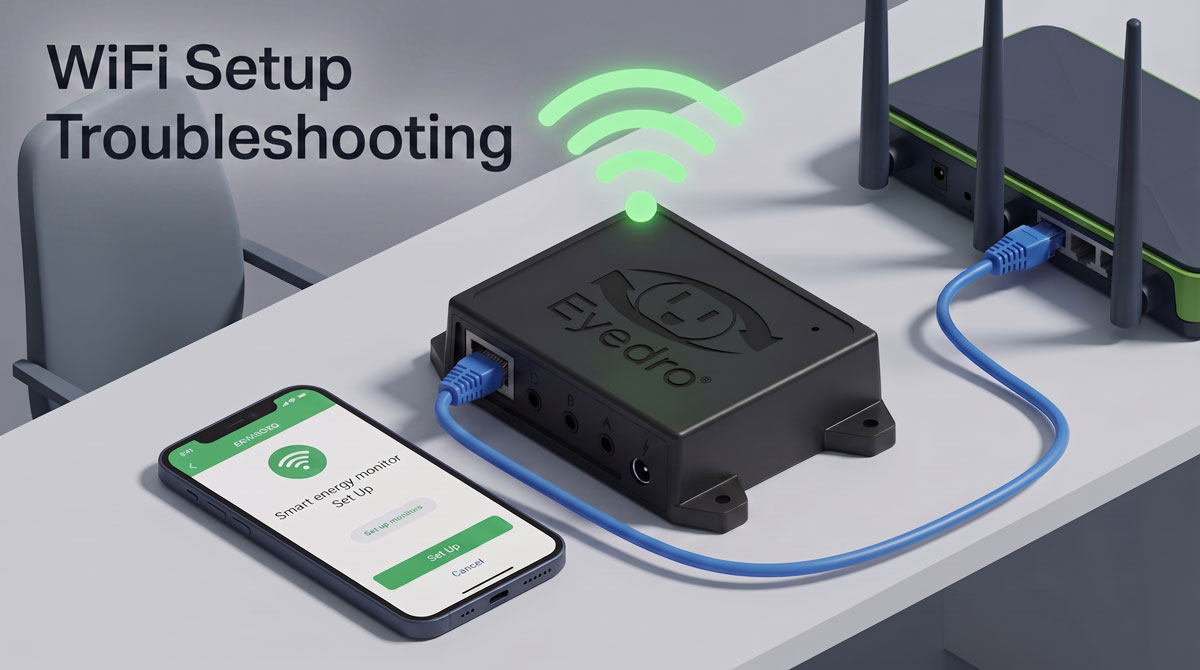
Bypassing Eyedro WiFi Setup Hurdles: The Temporary Ethernet Trick
Setting up your Eyedro Electricity Monitor over WiFi is usually a smooth process. However, if you run into setup bumps, there is a fast, reliable backdoor method: temporarily provisioning WiFi using an Ethernet connection.
Connecting your Eyedro device via Ethernet bypasses local WiFi credential errors, establishes a stable connection to the MyEyedro cloud, and lets you reconfigure your WiFi settings hassle-free.
When Should You Use the Temporary Ethernet Method?
This troubleshooting approach is ideal if you encounter any of the following:
Changed WiFi Credentials: You updated your router’s SSID or password, and the Eyedro module can no longer connect.
Failed Initial Provisioning: Mobile devices keep dropping the
Eyedro [xxx-yyyyy]setup network during initial configuration.Tricky Network Settings: You are dealing with complex router configurations, ad-blocking DNS setups, or dual-band (2.4GHz / 5GHz) steering issues.
Step-by-Step: How to Provision WiFi via Temporary Ethernet Connection
1) Disconnect Power from the Eyedro Unit:
Ensures the device registers hardware changes upon startup.
2) Connect to Your Router via Ethernet:
No sensors required for network configuration.
Run a standard Ethernet patch cable from an active LAN port on your router (or switch) directly into the Eyedro module’s Ethernet port.
The Ethernet cable must be plugged in before power is applied so the Eyedro recognizes the wired interface on boot.
Note: You do not need to move your current CT sensor clamps for this setup—only the Eyedro module and its power supply need to be plugged in near the router.
3) Power Cycle the Device:
Forces the device to bypass old WiFi settings, and also stops the device from broadcasting its WiFi network in the case of first time setup.
Plug the power adapter back into the Eyedro unit. When powered up with an active Ethernet cable attached, the unit automatically ignores existing Wi-Fi configuration settings and routes traffic over the wired LAN connection via DHCP.
4) Add Device to MyEyedro Account or Verify Device is Active if Already Claimed on account:
Verify active communication.
Wait approximately 10 to 15 seconds for startup diagnostic tests to complete:
- Watch the status LEDs: A solid or toggling green light indicates successful internet communication.
- Log into your account at My.Eyedro.com. Your device should now display as Active.
5) Reconfigure or Clear Old WiFi Credentials:
Apply clean 2.4GHz network parameters.
Navigate to the device settings menu in MyEyedro:
- Select Forget / Clear existing WiFi credentials.
- Enter your new 2.4GHz WiFi SSID (Network Name) and Password.
- Double-check for case sensitivity—incorrect capital letters or spaces are the most common cause of setup failures.
- Save the new parameters.
6) Disconnect Ethernet and Return to Normal WiFi Operation:
Final transition back to wireless mode.
Unplug the power cord, remove the Ethernet cable, and move the Eyedro module back to its permanent installation location. Reapply power; the unit will now connect automatically to your updated WiFi network.
Pro-Tips for Eyedro WiFi Success
- Verify 2.4GHz Support: Eyedro modules operate exclusively on the 2.4GHz frequency band for better wall penetration. Ensure your router does not force 5GHz-only connections on your smart home hardware.
- Hardware Generation Differences:
- Gen 6 Devices (Serials starting with A14-1): Support Ethernet hot-swapping (plug and play at any time).
- Gen 5 Devices (Serials starting with A14-0): Require the Ethernet cable to be connected before powering on the device.
- Firewall & DNS Issues: If the status light fails to turn green even over Ethernet, check if custom router DNS rules (like Pi-hole or AdGuard) are blocking cloud traffic. Switching temporarily to Google DNS (8.8.8.8 / 8.8.4.4) often resolves stubborn connectivity blocks.
Eyedro User Manuals
For detailed Eyedro product specifications, installation and MyEyedro cloud software information please refer to Eyedro product guides and MyEyedro user guides.