
Beginners Guide to MyEyedro Cloud Service | MyEyedro User Guide
Eyedro and MyEyedro are always working together to measure, analyze and store your utility usage and cost information. Follow this beginners guide to MyEyedro Cloud service to get started quickly.
Step 1: Create a User Account
MyEyedro Cloud service in the web based service that all Eyedro products are designed to work with.
MyEyedro is easy to use and accessible from any standard web browser. In order to access the MyEyedro Cloud service, a user account is required.
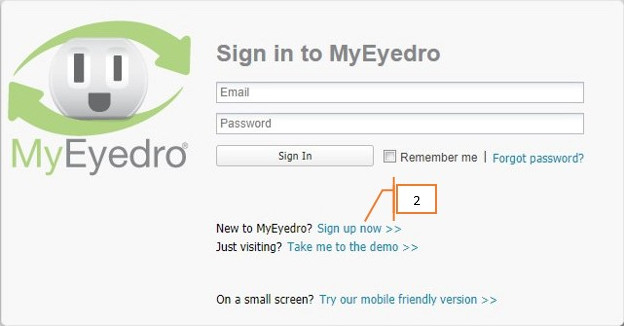
If not already done, browse to the MyEyedro Cloud login page and follow the steps found here to create a user account.
Step 2: Add a Device
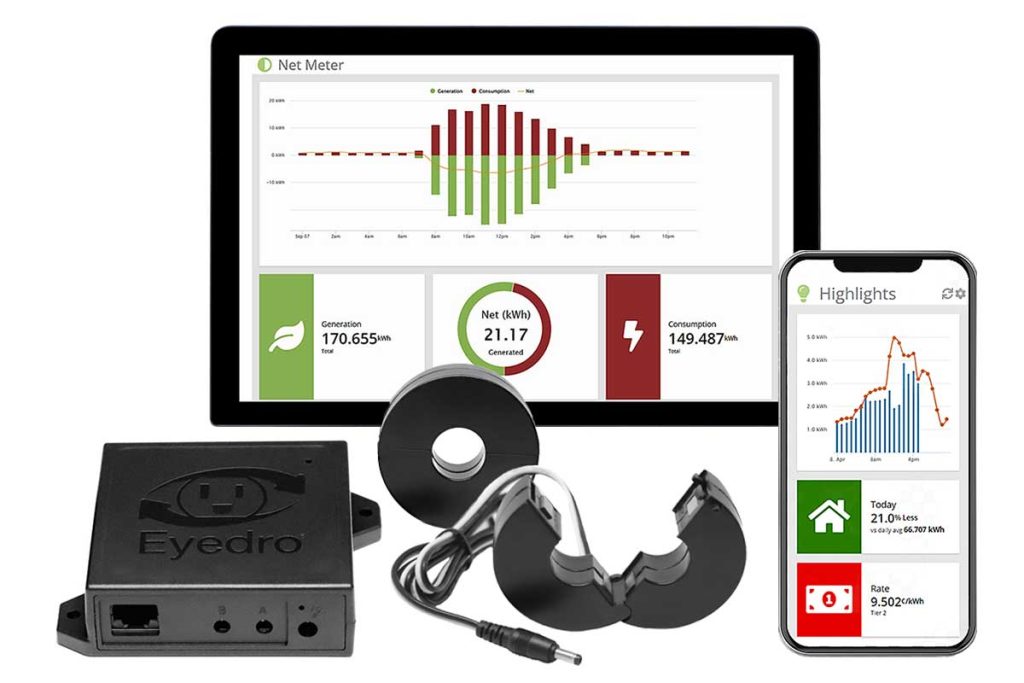
A device is a physical piece of Eyedro monitoring hardware. This can be any Eyedro Product for electricity, gas or water monitoring.
Devices are associated with one or more Display Groups for presentation in various plugins.
NOTE: After signing in to MyEyedro for the first time, you will be presented with a welcome screen directing you to add hardware to your user account. Click on the blue “Yes, open device configuration” button to proceed.
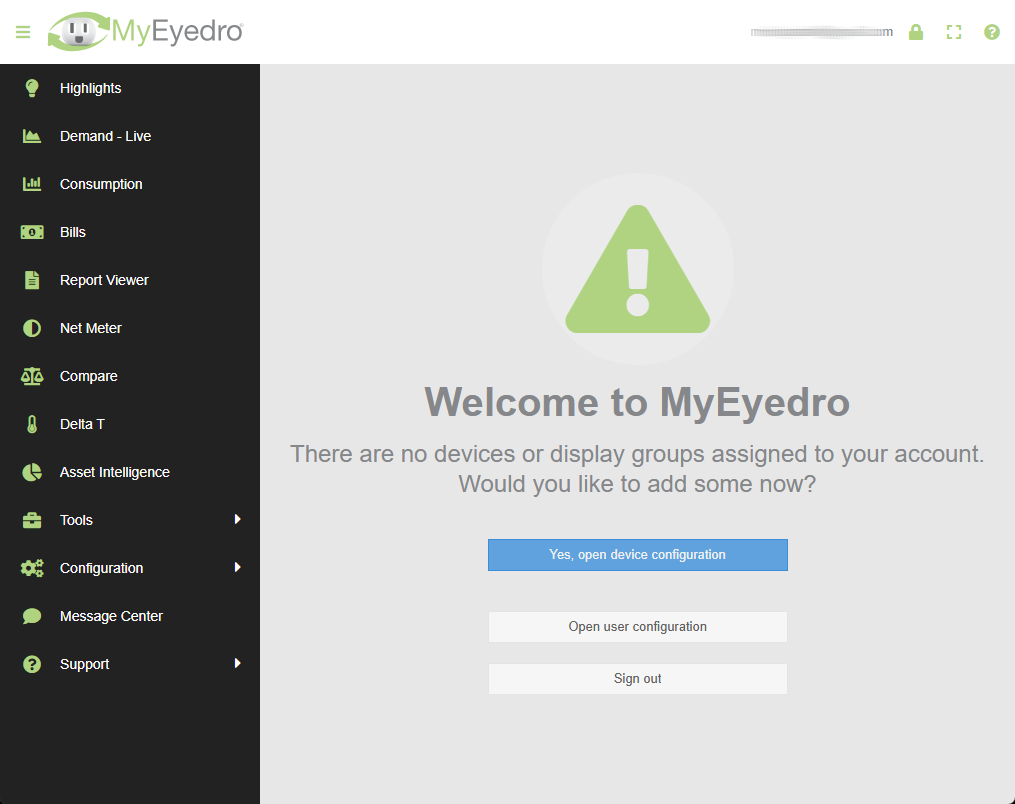
To add a device, browse to the Devices configuration plugin, or click the blue button on the Welcome screen, and follow the steps found here.
IMPORTANT: Be sure to follow all steps in the device setup wizard when adding a device to your account.
Step 3: Create a Display Group
A display group is a grouping of device sensors for presentation in MyEyedro plugins.
Display Groups provide flexibility as they can be used to separate sensors of a single device or combine sensors, of the same type, from multiple devices for presentation purposes.
In most cases, Display Groups are a 1-to-1 mapping of an Eyedro device.
Once a device has been successfully added (Step 2 above), a default Display Group should have been automatically created for the device using the label “New Display Group (device serial)“.
However, if something went wrong or the process was incomplete, you can manually add a display group, navigate to the Display Groups configuration plugin and follow the steps found here.
IMPORTANT: If after adding a device and creating a display group, you continue to see the Welcome to MyEydro page, it indicates that something went wrong either adding the device or creating the required Display Group. Please review Steps 2 and 3 above.
Step 4: View Demand and Consumption Data in Various Plugins
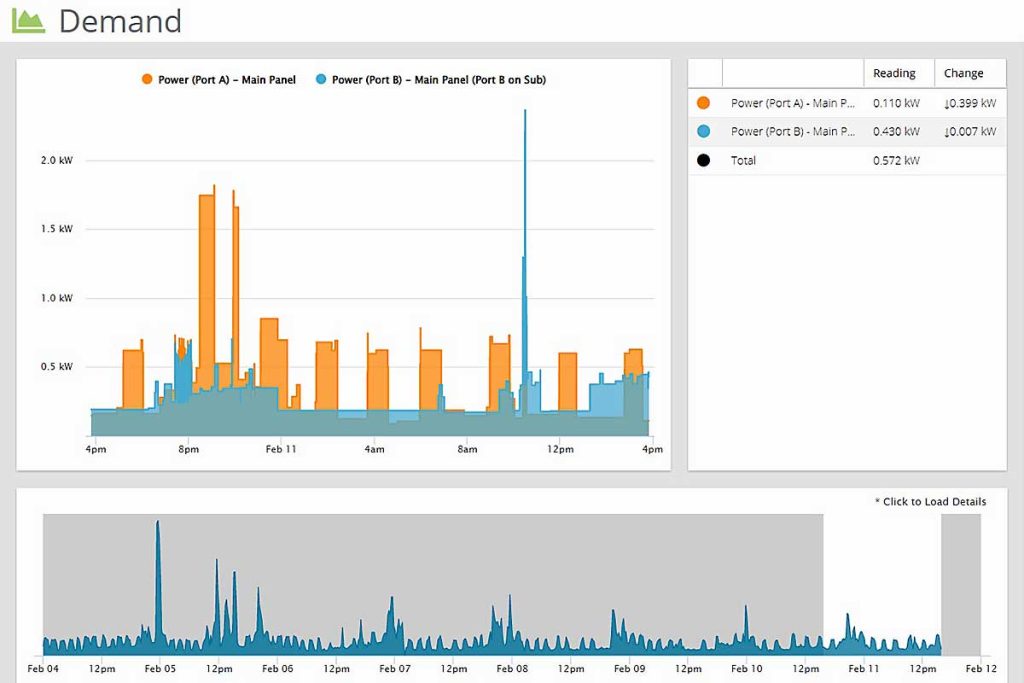
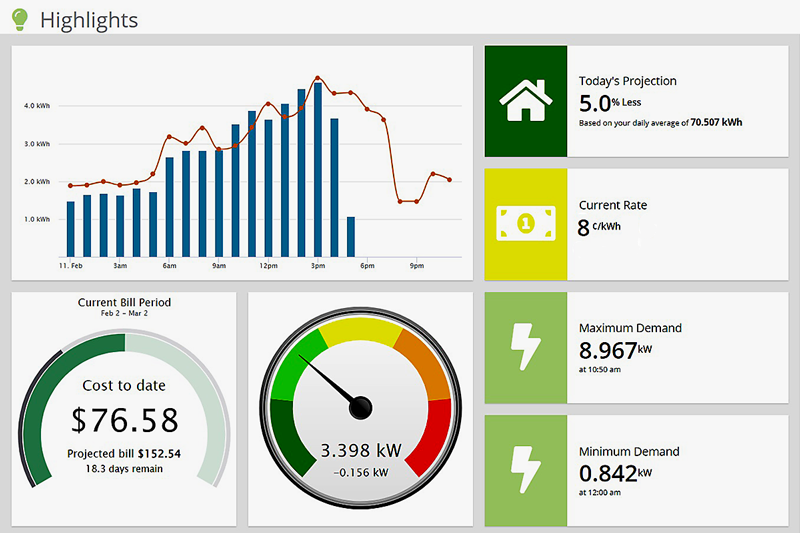
The MyEyedro cloud service presents your data in ways that are engaging, informative and easy to understand. Gain access to many helpful features that help you uncover waste, manage costs and take control of your utility use.
PRO TIP: The Demand plugin shows real-time data and is a good place to start for newly installed devices. Use the demand plugin to become familiar with MyEyedro. You can also use the demand plugin to further verify correct device installation by turning on various electrical (or gas/water) loads and witnessing the resulting changes on the live demand graph. Many other MyEyedro plugins require some data history, ranging from hours to days, to be collected before they are able to present truly helpful insights.
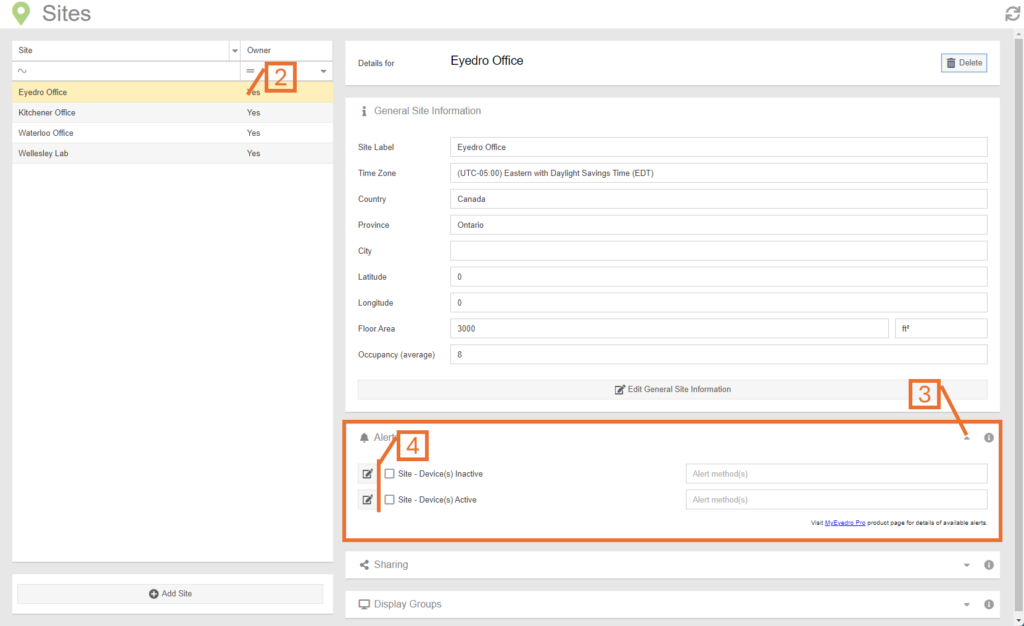
Optional: Configure Site and Rates
A Site is physical representation of where your devices and sensors are installed (i.e. a building or your house). Sites are associated with one or more Display Groups (described above).
Rates are used to define the fees charged by your utility provider. The rates are used throughout the MyEyedro to display and predict estimated cost information. Rates are also associated with one or more Display Groups (described above).
PRO TIP: The default site and rate profiles, created for all new user accounts, can be used initially while becoming familiar with the MyEyedro Cloud software. These can be updated at a later time if desired.
To edit and/or create a site, browse to the Sites configuration plugin in MyEyedro and follow the steps found here.
To edit and/or create a rate profile, browse to the Rates configuration plugin in MyEyedro and follow the steps found here.